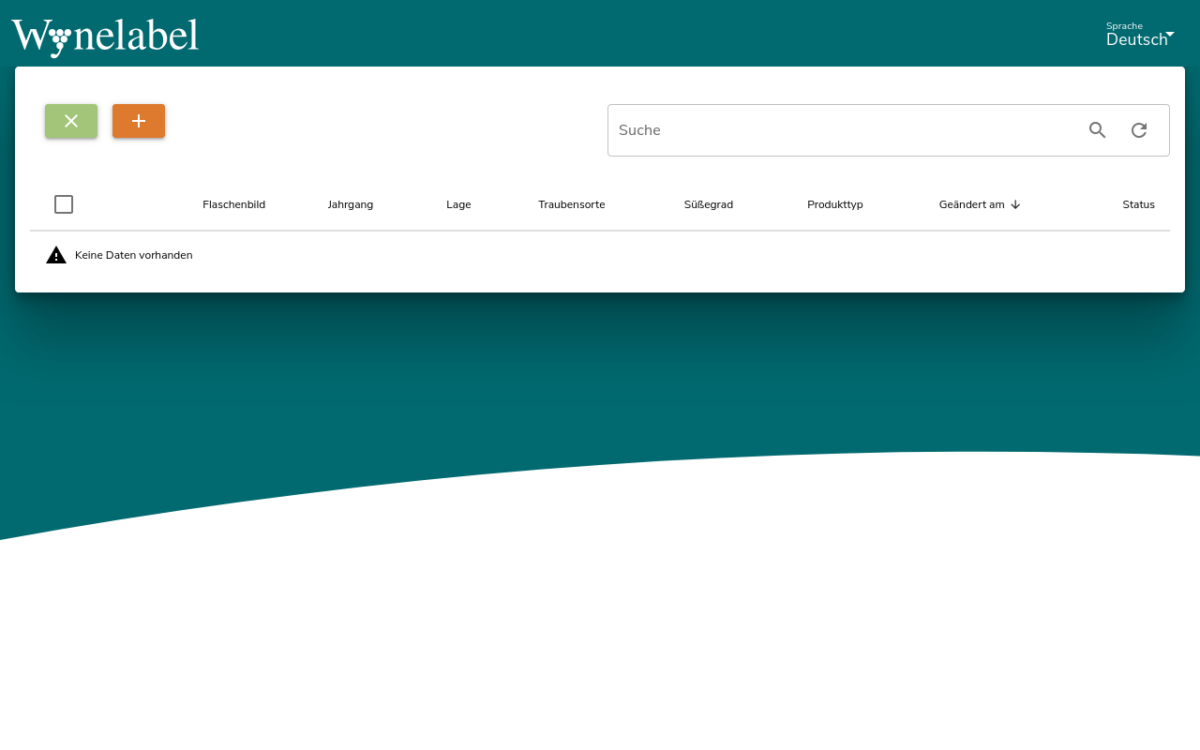
Click on the “E-LABELS” button in the Wynelabel dashboard. This takes you to the list of your e-labels. Click on the orange button with the plus sign to create a new e-label
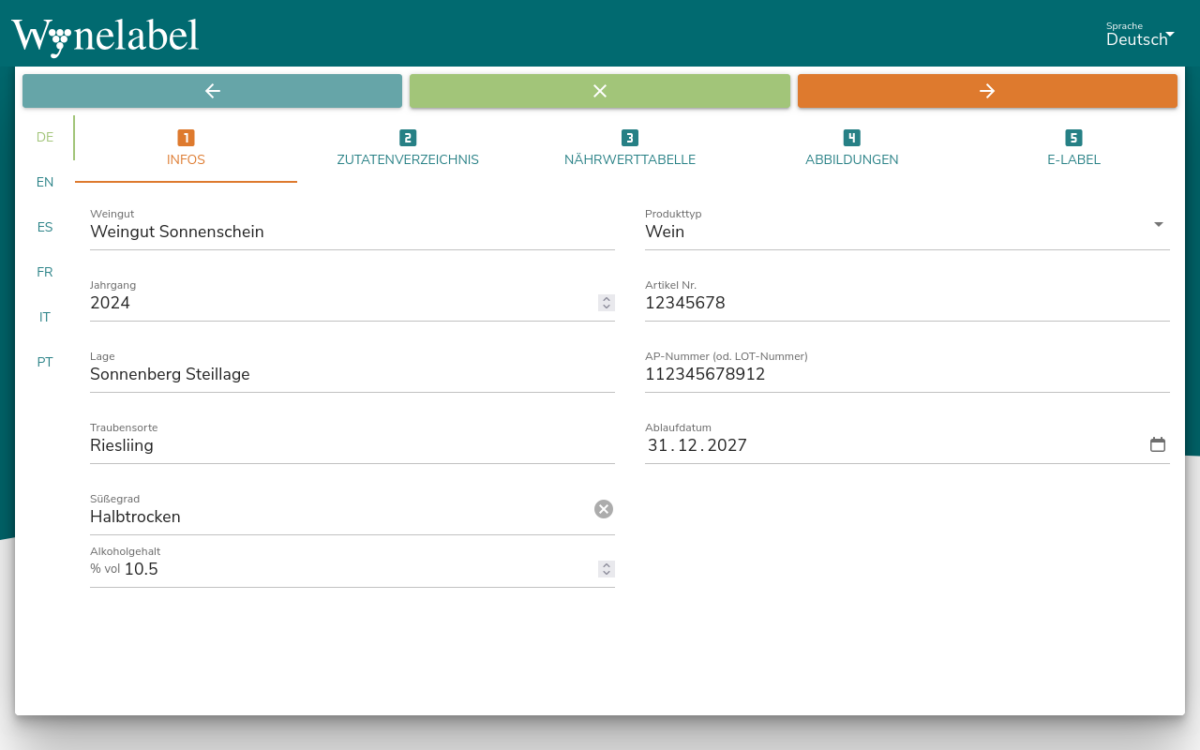
The name of your winery is pre-assigned from the billing address you have entered, but you can enter any name you wish. The name of the winery is displayed at the top of the e-label to make it easy for the wine buyer to identify the wine.
When filling in all the informative fields, bear in mind that the law stipulates that no advertising information may appear on the e-label. It remains to be seen how exactly this will be interpreted in case law.
Fill in the fields on the “INFO” tab as in the following example:
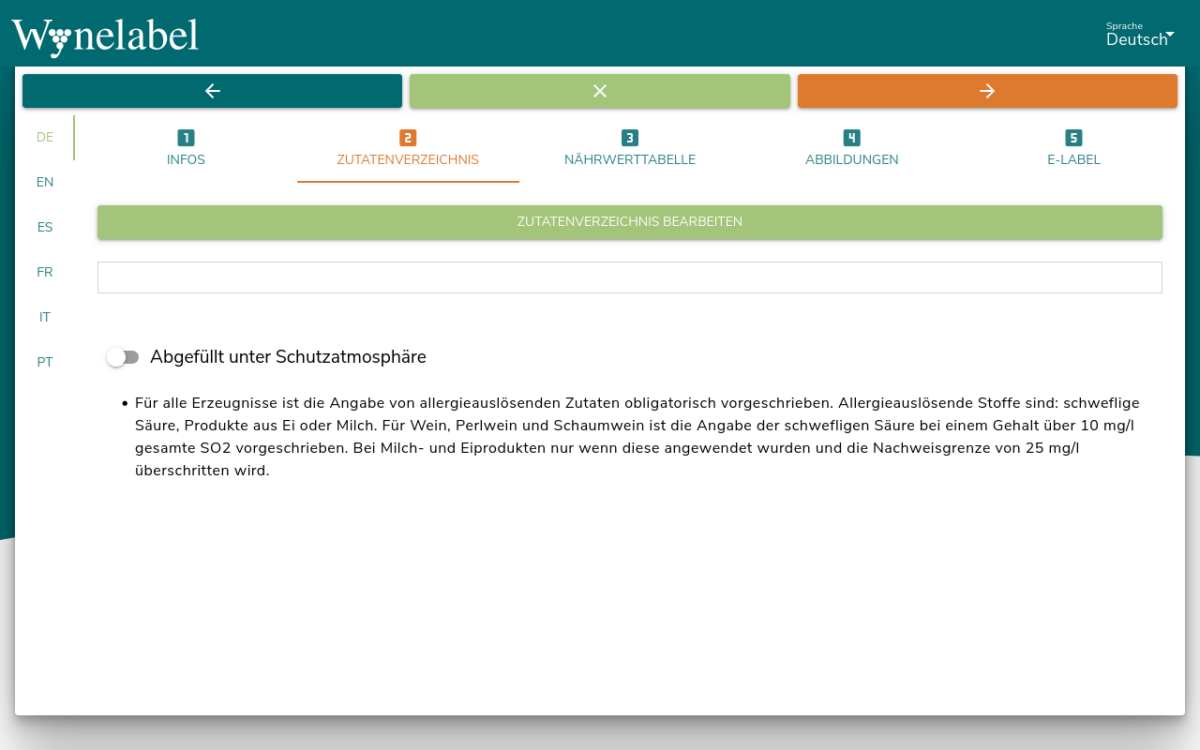
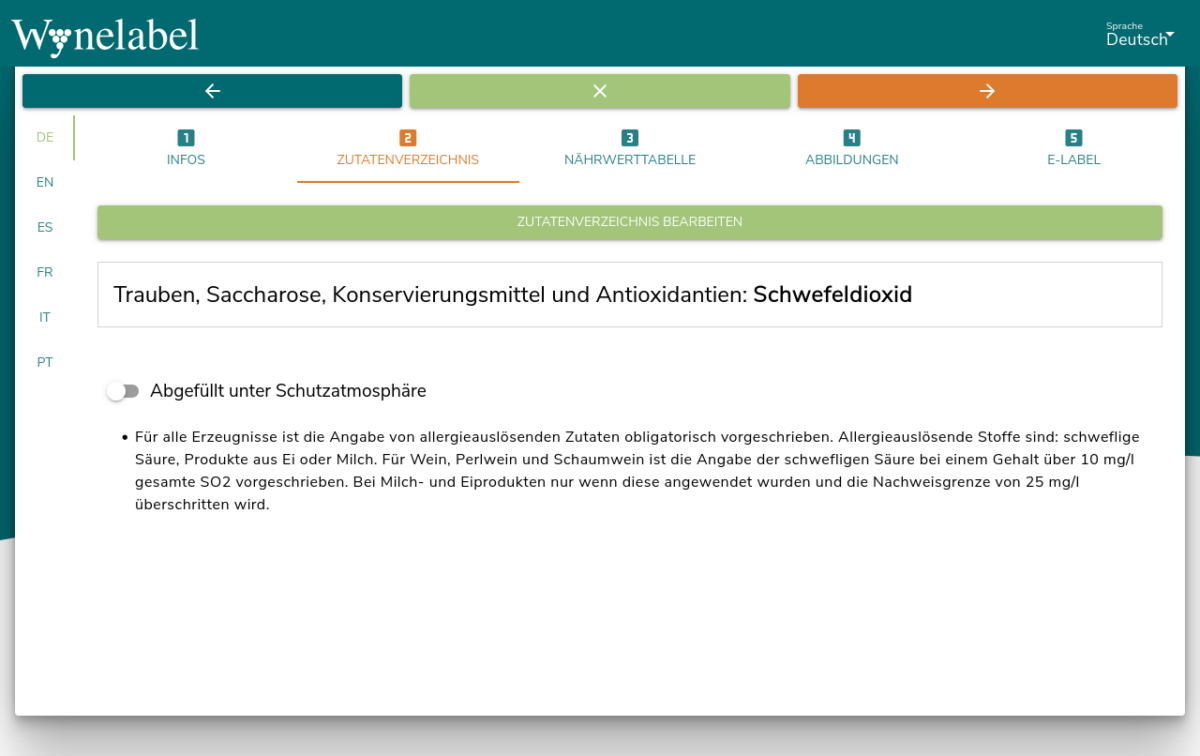
In the next step on the “INGREDIENTS LIST” tab, click on the “EDIT INGREDIENTS LIST” button.
The window with the list of ingredients editor will then open. In the simplest case of a classic wine, for example, the following ingredients should be included in the list of ingredients:
- Grapes
- Sucrose (only if added to the wine)
- Sulphur dioxide (only if added to the wine)
In the right-hand list, click on the icon with the list/plus sign to the left of the ingredient “Grapes” so that the “Grapes” are added to the left-hand list.

If present in your wine, add the ingredient “sucrose” to the list of ingredients in the same way.
If present in your wine, add the ingredient “sulphur dioxide” as well. To find a specific ingredient, enter the term in the search field on the right above the list of ingredients. It is sufficient to enter “schw” to filter the list of ingredients so that “sulphur dioxide” appears. Then click on the icon with the list/plus sign to the left of the ingredient “sulphur dioxide”.
The ingredient “Sulphur dioxide” is automatically added below the corresponding ingredient class “Preservatives and antioxidants” and marked as an allergen.
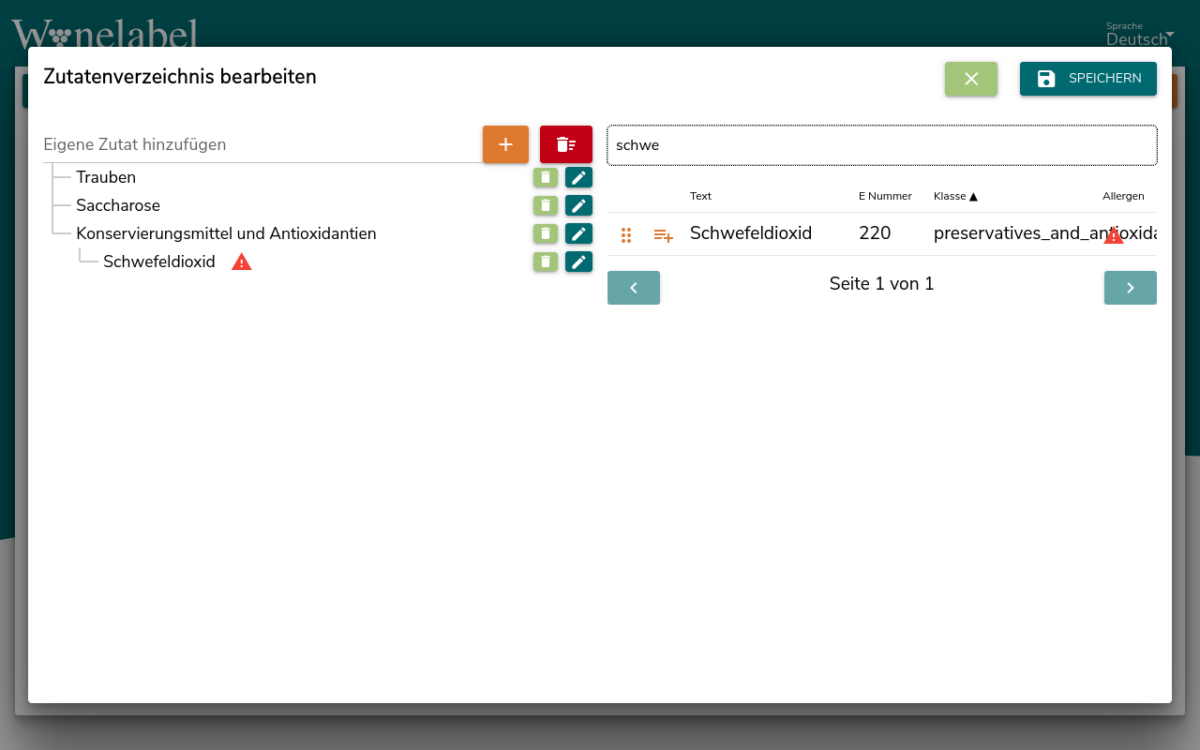
Now click on the “SAVE” button at the top right to save the list of ingredients. This will automatically create and save translations of the list of ingredients for all other languages.
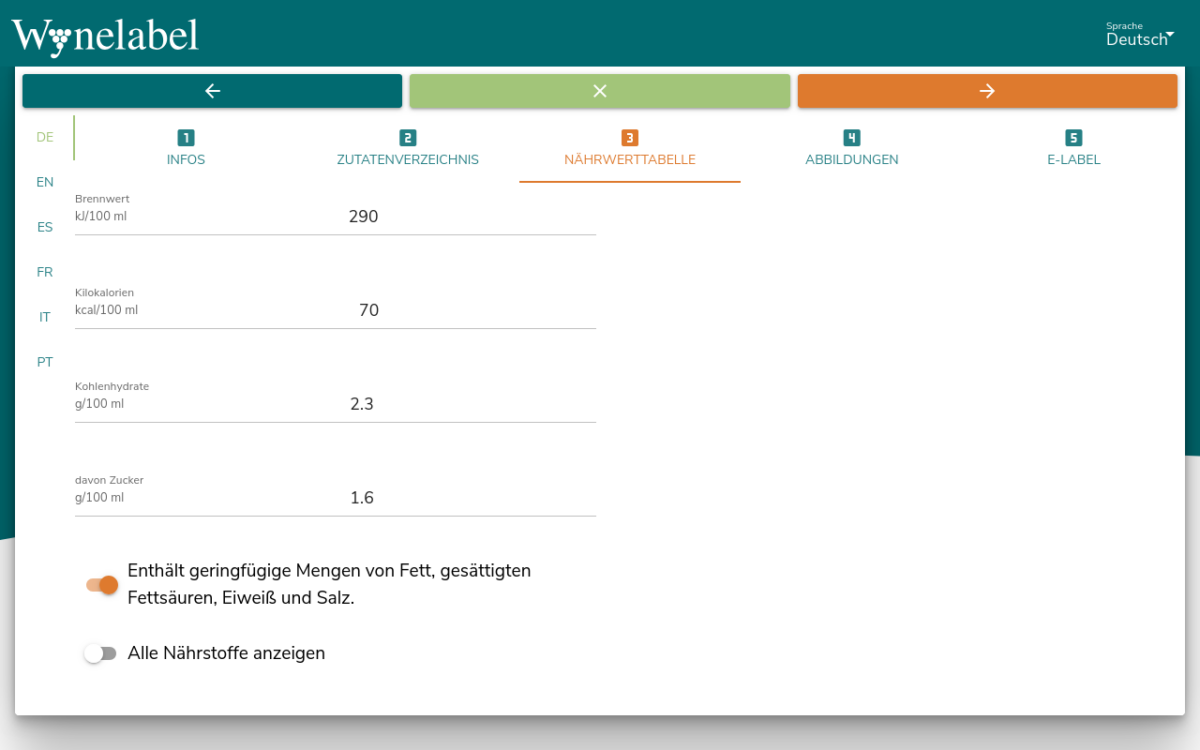
Now switch to the “NUTRITION TABLE” tab to enter the calorific value and the proportions of carbohydrates and sugar. Also activate the “Contains small amounts of fat, saturated fatty acids, protein and salt” checkbox if your wine does not contain any other ingredients above the limit.
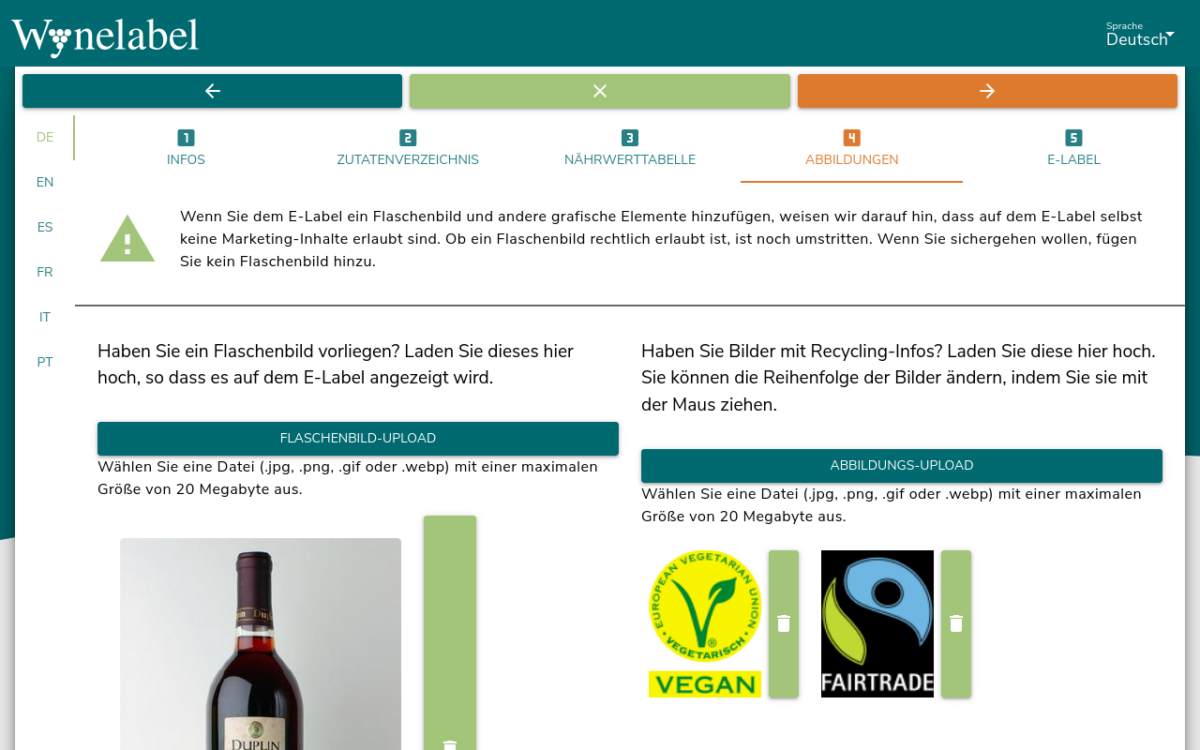
If you would like to display a bottle image and/or an information seal on the e-label, switch to the “IMAGES” tab. Please note that no marketing content is permitted on the e-label itself. Whether a bottle image is legally permitted is still controversial. If you want to be on the safe side, do not add a bottle image.
Click on the corresponding “UPLOAD” button to select a file for the bottle image or an info seal from your computer. Files with the extensions .jpg, .png, .gif or .webp are permitted. The maximum file size is 20 megabytes.
Do you have pictures with recycling information? Upload them here as info seals. You can change the order of the info seal images by dragging and dropping them with the mouse.
Now switch to the last tab “E_LABEL” to check and publish the e-label and to download the QR code.
If you wish to pre-publish the e-label, e.g. if not all the analysis data for the e-label is available yet, publish the e-label with the “In preparation” option. This option must be deactivated manually and the e-label updated before the goods are delivered once the analysis data has been added.
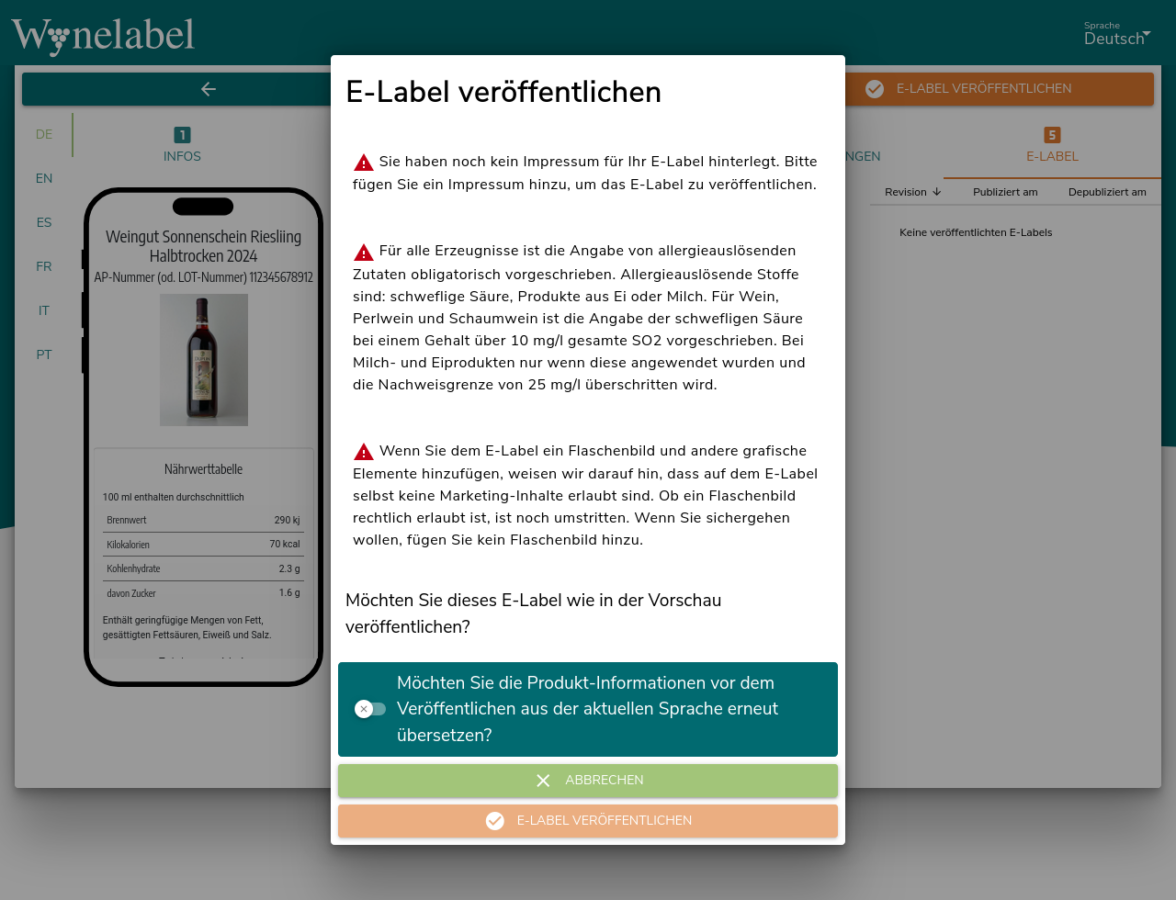
By clicking on the orange “PUBLISH E-LABEL” button in the top right-hand corner, you will first be taken to the confirmation pop-up, in which you will be given instructions and the option of having the data entered automatically translated before publication.
You must create an imprint for the e-label before publishing it. You can do this via the Wynelabel dashboard or profile. Only then will the “PUBLISH E-LABEL” button be activated and publication possible.
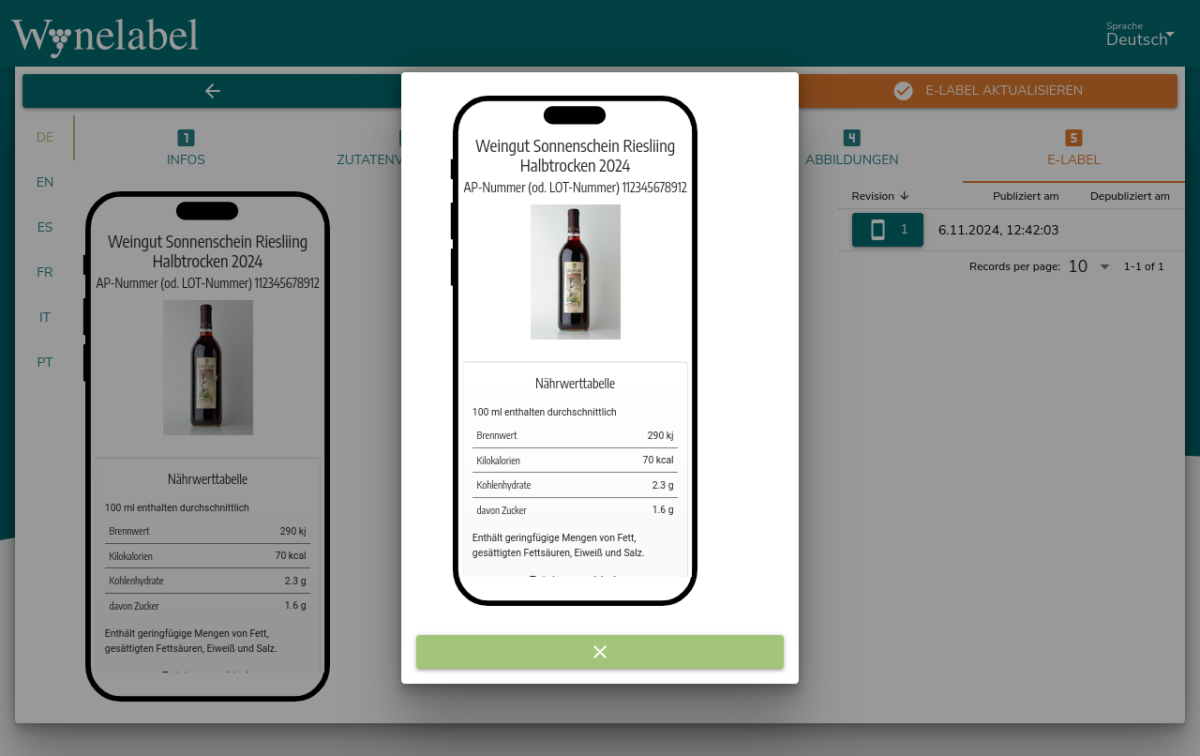
As soon as you have published the e-label, a corresponding entry appears in the history list on the right. By clicking on the dark green cell phone button with the consecutive number, you can check which e-label was published with which data and when.
By clicking on the light green button “DEPUBLICATE E-LABEL” you can depublish the E-LABEL so that the QR code leads to an error page instead of the E-Label.
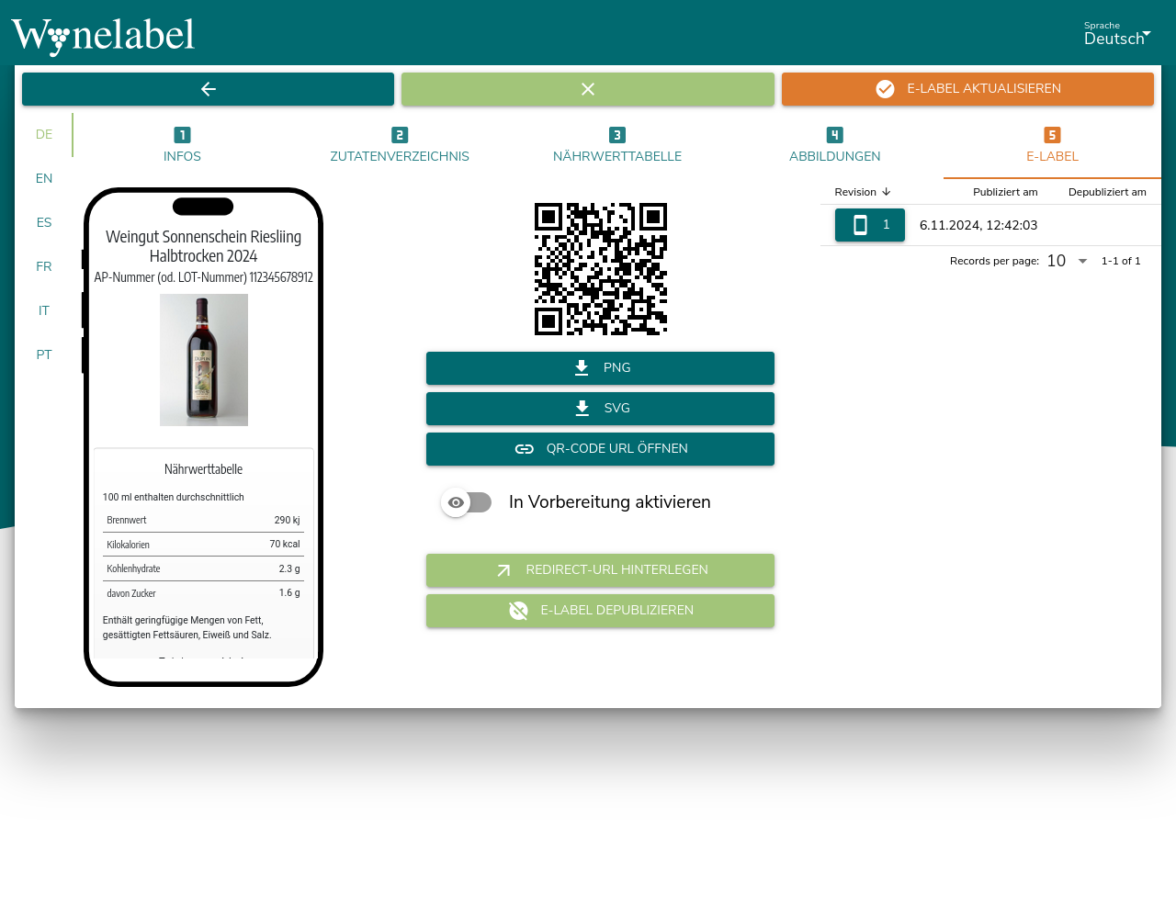
As a final step, download the QR code for the e-label you have just published by clicking on one of the two download buttons with the arrow pointing downwards. You have the option to choose between a download as a bitmap file (PNG) or as a vector file (SVG).